
Step 1: Choosing Your Tomato Variety and Method
Before you even touch soil, you need to decide what you want to grow. Tomatoes come in two main growth habits and countless varieties:
Growth Habit:
-
Determinate (Bush): These grow to a compact, pre-determined size and produce most of their fruit all at once, usually over a 4-6 week period. They are ideal for containers, smaller spaces, and for those who want to harvest for canning or sauce-making in one go. They generally require less staking.
-
Indeterminate (Vining): These plants continue to grow, vine, and produce fruit throughout the entire growing season until the first frost. They require strong, tall support (stakes, cages, or trellises) and are perfect for continuous harvesting for fresh eating.
Variety Type:
-
Cherry/Grape Tomatoes: Small, sweet, and excellent for snacking or salads. Often great for containers (e.g., 'Tiny Tim', 'Sweet Million').
-
Slicing/Beefsteak Tomatoes: Large, juicy tomatoes perfect for sandwiches (e.g., 'Brandywine', 'Mortgage Lifter').
-
Paste/Plum Tomatoes: Lower in water content, thick-walled, and best for sauces, purees, and canning (e.g., 'Roma').
Starting Method:
-
From Seed: This gives you the widest choice of varieties. Start seeds indoors 6-8 weeks before your last expected spring frost date.
-
From Seedling/Transplant: The quickest and easiest option for beginners. Purchase healthy, stocky young plants from a nursery after all danger of frost has passed. Look for plants with dark green leaves and a healthy root ball, avoiding those that are spindly or already flowering heavily.
Step 2: Location, Soil, and Timing
The three cornerstones of tomato success are sunlight, warmth, and excellent soil.
Location & Sunlight
Tomatoes are sun-lovers. They need a minimum of 6-8 hours of direct sunlight per day. Choose the sunniest spot in your garden, balcony, or patio. In extremely hot climates, some afternoon shade can be beneficial to prevent scorching and blossom drop, but most regions require full sun.
Soil Preparation
Tomatoes are heavy feeders and thrive in well-draining soil rich in organic matter.
-
In-Ground/Raised Beds: Mix in a generous layer of well-aged compost or manure to your garden bed. Aim for a slightly acidic to neutral soil pH (6.0 to 7.0). Good drainage is critical—tomatoes hate "wet feet."
-
Containers: If growing in pots, choose large containers—a minimum of a 5-gallon bucket (or $20$ litres) is recommended per plant, especially for indeterminate varieties. Use a high-quality, sterile potting mix, not heavy garden soil, which can compact and impede drainage.
Timing is Everything
The biggest mistake a tomato grower can make is planting too early. Do not transplant seedlings outdoors until all danger of frost has passed and both daytime and nighttime temperatures are reliably above $50^\circ\text{F}$ ($10^\circ\text{C}$). For seedlings started indoors, remember to "harden off" your plants—gradually exposing them to outdoor conditions for a week or two before planting them permanently outside.
Step 3: Planting and Support
This step is critical for developing a strong, healthy root system.
Planting Deeply
Tomatoes are unique in that they will grow new roots along any part of the stem buried underground. This is essential for a vigorous, drought-resistant plant.
-
Gently remove the lower leaves from your seedling, leaving only the top few sets of leaves.
-
Dig a deep hole and plant the seedling so that two-thirds of the stem is buried. The root ball should be deep, and only the top leaves should be visible above the soil line.
-
For tall, "leggy" seedlings, you can dig a trench and lay the plant on its side, gently curving the stem upwards so the top leaves remain above ground.
Adding Amendments
Before filling the hole, many gardeners add amendments to prevent common issues:
-
Calcium Source: A handful of crushed eggshells, bone meal, or a specific calcium supplement helps prevent Blossom End Rot (a dark, sunken patch on the bottom of the fruit), which is caused by a calcium deficiency or inconsistent watering.
-
Slow-Release Fertilizer: Mix in a balanced granular or slow-release tomato fertilizer into the planting hole.
Immediate Support
Install your support system (cage, stake, or trellis) immediately after planting. Waiting until the plant is large risks damaging the newly formed root system. Choose sturdy materials; the flimsy cages sold at many stores are often insufficient for a large indeterminate plant.
Step 4: Care and Maintenance
Once planted, your tomatoes need consistent attention to thrive.
Watering
Tomatoes require consistent moisture, especially once they start flowering and fruiting.
-
Water Deeply: Aim to water deeply but infrequently, encouraging roots to grow deeper. About 1 to 2 inches of water per week is a general guideline.
-
Avoid Irregular Watering: Fluctuations (too dry, then too wet) cause issues like fruit cracking and blossom end rot.
-
Water the Soil, Not the Leaves: Water at the base of the plant to keep foliage dry. Wet leaves are an open invitation for fungal diseases like blight.
-
Mulch: Apply a thick layer of organic mulch (straw, dried leaves, or wood chips) around the plant base. This retains soil moisture, suppresses weeds, and prevents soil-borne pathogens from splashing onto the lower leaves.
Feeding
As heavy feeders, tomatoes benefit from regular fertilization.
-
Use a fertilizer specifically formulated for tomatoes, which is typically higher in phosphorus (P) and potassium (K) than nitrogen (N). Too much nitrogen promotes lush, green leaves at the expense of fruit production.
-
Begin feeding every 2-4 weeks once the first fruits start to swell.
Pruning and Suckering
Pruning is essential, particularly for indeterminate varieties, to improve airflow and focus the plant’s energy on fruit production.
-
Remove Suckers: Suckers are small shoots that grow in the “armpit” (the node) between the main stem and a leaf branch. Pinch these off when they are small to ensure the plant grows upward on a single stem. Bush (determinate) varieties need less or no suckering.
-
Remove Lower Leaves: Once the plant is established, remove the lowest foot of leaves, especially those touching the soil. This drastically reduces the risk of soil-borne diseases splashing up onto the plant.
Step 5: Pollination, Pests, and Harvest
Pollination
Outdoors, wind and insects usually take care of pollination. If you are growing in a greenhouse or indoors, you may need to assist: gently tap the main stake or stem of the plant when the flowers are open to help the pollen move.
Pests and Diseases
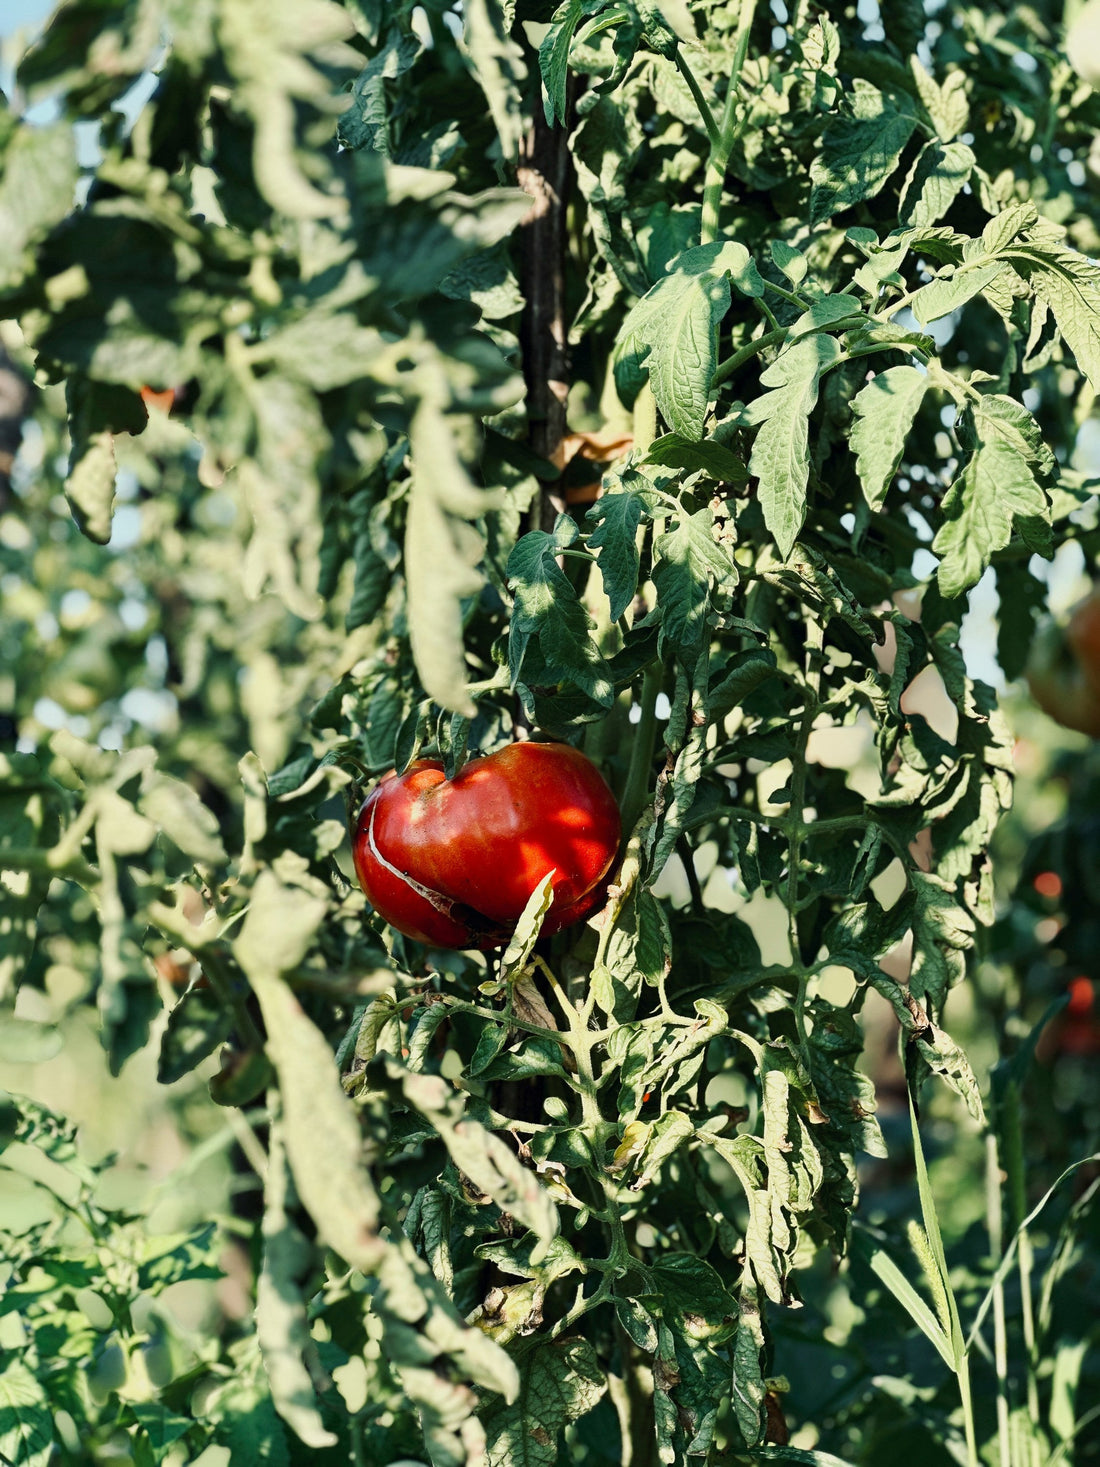
Regular inspection is your best defence. Common pests include aphids, hornworms, and whiteflies. Diseases often include early blight (yellowing/browning of lower leaves) and powdery mildew.
-
Prevention: Maintain good air circulation, avoid overhead watering, and use crop rotation.
-
Treatment: Hand-pick large pests. Treat minor infestations with an organic insecticide like Neem oil.
Harvesting
The final, most satisfying step!
-
Harvest tomatoes when they have reached their full colour and are firm yet slightly soft to the touch. They should release easily from the vine.
-
For the best flavour, do not refrigerate your fresh-picked tomatoes; store them at room temperature on the counter.
Growing your own tomatoes is a journey filled with learning, patience, and eventually, the unparalleled taste of victory. By following these steps and giving your plants the sunlight, water, and rich soil they crave, you will soon be enjoying the sweetest, most satisfying tomatoes you have ever tasted, straight from your home garden. Happy gardening!
Buy Heirloom tomato seeds from euphoricgreens.in.